
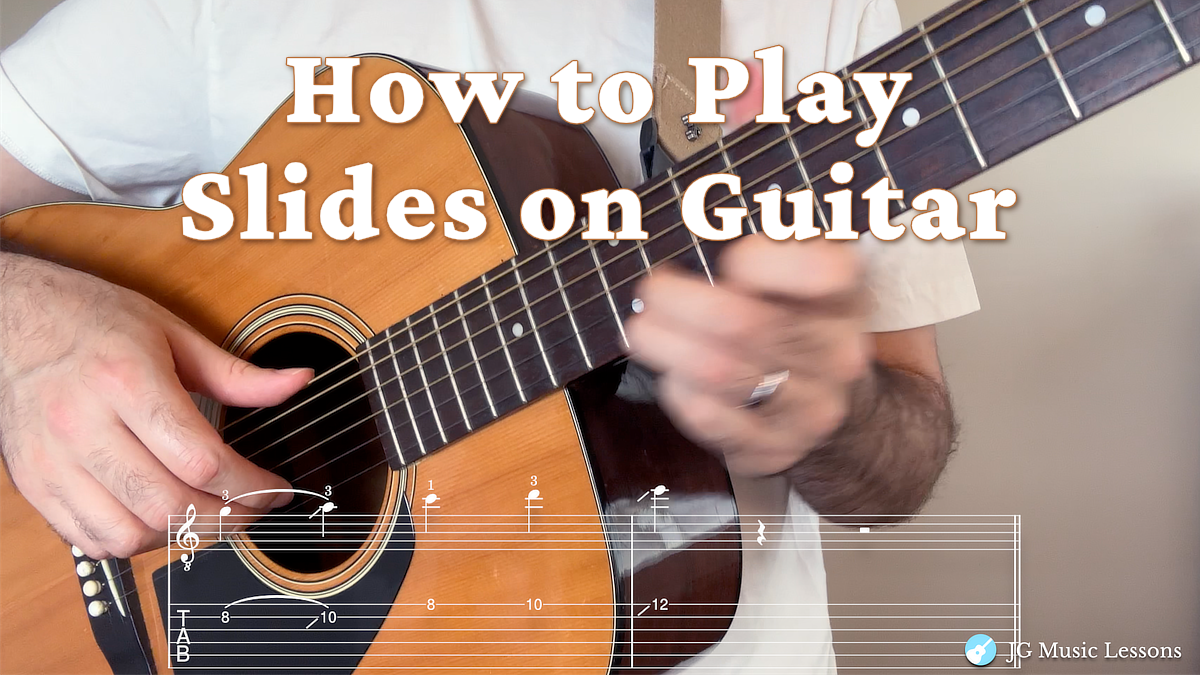
Slides give you another way to connect notes in a lead phrase. Instead of picking each note separately, you keep contact with the string and move directly into the next fret.
In this lesson, we’ll practice sliding up and down, compare legato and shift slides, then apply the technique inside familiar pentatonic phrases.
Skill Builders Roadmap Focus · View Roadmap →
Start with one slide up and one slide down. Keep the string ringing and land directly on the target fret. Then use a slide inside a short pentatonic phrase and create one phrase of your own.
What a slide actually is
A slide connects two notes on the same string. Pick the starting note, keep your finger in contact with the string, and move along the fretboard until you reach the target fret.
The goal is to keep the sound connected and land accurately on the note you’re aiming for.
Two useful types to know are the legato slide and shift slide.
A legato slide is picked only once. You pick the starting note and let the sliding motion carry the sound to the target. The target note rings without being picked again.
A shift slide picks both notes. You pick the starting note, slide to the target, and pick again on arrival. It’s louder and more defined at the landing point.
How to play a slide
Finger position and pressure
Use enough finger pressure to keep the string ringing as you move, but not so much that you slow yourself down. The goal is a smooth, continuous sound from start to finish, not two separate notes.
You can use any finger to slide, but your third finger is a practical starting point since it lines up with the bending technique we reviewed in a previous lesson. Same finger, different kind of movement.
The motion
Keep your finger in contact with the string and shift your hand toward the target fret. Maintain enough pressure for the note to keep ringing, but let the hand move freely along the neck.
The speed of the slide affects the feel. A slow slide sounds deliberate and smooth while a fast slide creates a sharper, more immediate arrival. Both are useful in different contexts.
Slides going up vs slides going down
Slides can move either up or down the fretboard. The direction, speed, starting note, and target note all affect how the slide feels inside the phrase.
Tab notation for slides
In tab, a slide is shown with a slash between two fret numbers. A forward slash (/) means slide up, while a backslash (\) means slide down.
For example, 7 / 9 means slide from the 7th fret to the 9th fret, while 9 \ 7 means slide from the 9th fret down to the 7th.
Sometimes the notation shows a slide into a note without giving an exact starting fret. In that case, the starting point is more flexible and the slide works like a quick ornament into the target note.

4 Slide Examples to Practice
Example 1: Legato slide up
Pick the 7th fret on the G string and slide up to the 9th without picking again. Listen for the target note ringing clearly at the end of the slide.

Example 2: Legato slide down
Pick the 9th fret on the G string and slide down to the 7th without picking again. Again, make sure the target note rings clearly at the end of the slide.

Example 3: Shift slide up
Pick the 7th fret on the G string, slide up to the 9th, and pick again on arrival. Notice how the second pick makes the target note feel more defined and intentional.

Example 4: Shift slide down
Same concept as before but now sliding down and then replaying the target note.

Try this: Play one legato slide up and down, then one shift slide up and down. Listen for three things: the string keeps ringing, you land on the correct fret, and the target note sounds clear.
Common Slide Mistakes
1. Lifting the finger mid-slide
The sound cuts out before you reach the target. Keep consistent pressure on the string from start to finish. If the note dies mid-slide, you’ve lifted off without realizing it.
2. Using a slide speed that doesn’t fit the phrase
A quick slide can create a fast connection between nearby notes, while a slower slide can make the movement more noticeable. Experiment with the speed and listen for what fits the phrase you’re playing.
3. Losing the target note
If you slide past the fret you were aiming for, the phrase falls apart. Practice landing on the target fret accurately before worrying about tone or speed. Know where you’re going before you slide.
4. Ignoring the starting note
The note you slide from affects the sound of the phrase. Try starting from a scale note first, then experiment with nearby chromatic notes and listen to how the effect changes.
Slide Phrase Examples
If you’re familiar with A minor pentatonic Shape 1 at the 5th position, use that as your home base for the examples below. Some of the slides will also help you reach notes outside the position and connect into nearby areas of the fretboard.
The phrases combine slides with hammer-ons, pull-offs, and bends from the previous lessons so you can begin mixing these techniques inside the same lead line.
Phrase 1: Legato slides
The legato slide happens on the first two notes, and the grace note slide happens on the last note here.

Phrase 2: Hammer on + legato slide
Here’s another pentatonic style phrase, including a hammer-on to start it off.

Phrase 3: Bend + legato slide
This phrase begins with a slight bend and later uses a slide to emphasize the final note.

Phrase 4: Blues grace note + slide down
This phrase uses the blues note before sliding down into the next note.

Phrase 5: Slide up + slide down
This phrase combines both a legato slide up and slide down to decorate the line.

Phrase 6: Classical style line with shift slide
This phrase uses a classical-style A minor arpeggio and finishes with a shift slide.

Try this: Choose one phrase above and play it until the slide lands cleanly. Then stay in the same scale area and create a short phrase of your own using one slide.
Repeat your phrase and change either the starting note, slide direction, or rhythm while keeping the target note clear.
Practice Routine (10-15 minutes)
Minutes 1-5: Clean slide control
Work through Examples 1 through 4, practicing both legato and shift slides going up and down. Focus on keeping the string ringing as you move and landing directly on the target fret. Start slowly, then gradually make the slide quicker while keeping the landing clean.
Minutes 6-10: Practice slides inside a phrase
Choose two of the phrase examples above and practice them slowly until the slides feel like a natural part of the line. Pay attention to how the slide connects one note to the next. Once the phrase feels comfortable, gradually bring it up to a more musical tempo.
Minutes 11-15: Apply the phrases over a backing track
Use a backing track that fits the scale you’re practicing. Play one phrase as written, then repeat it with one change such as the rhythm, starting note, or location of the slide. Finally, create a short phrase of your own using the same technique.
Included in Pro Membership ✨
Wrapping Up
Slides give you another way to connect notes and move through a lead phrase. The main skill is keeping the string ringing while landing accurately on the note you’re aiming for.
Start with simple slides up and down, then apply them inside the pentatonic shapes you already know. From there, combine slides with hammer-ons, pull-offs, and bends to give your phrases different kinds of articulation.
As you improvise, listen for places where sliding into or away from a note fits the phrase naturally.
Before continuing
You’re ready to continue when you can slide up and down while keeping the string ringing, land accurately on the target fret, and use a clean slide inside a short phrase of your own.
Next: Continue in the Skill Builders Roadmap to keep developing your lead-playing technique and phrasing.
📘 Get the free Practice Blueprint: Build better habits and make your progress more consistent. Download the free guide →